Easy Upstyle Tutorial ♥
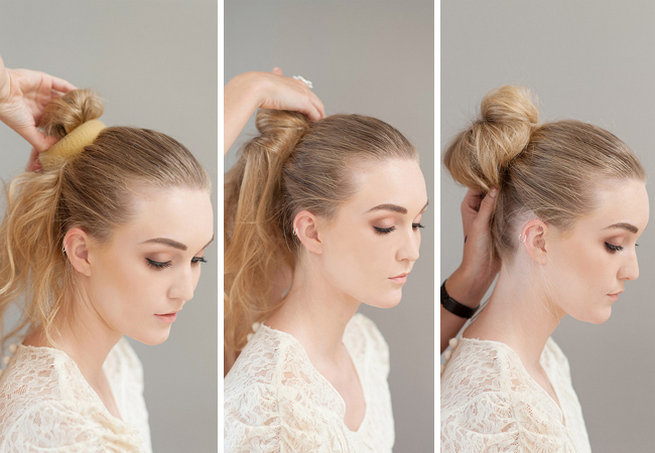
Learn how to make a simple donut bun in minutes with today’s DIY tutorial. With the help of stylist Lisa Brown , and ST Photography, who brought us this soft, romantic, wedding make-up tutorial, you’ll be styled and ready to wow in no time.
I have very long hair and a bun upstyle is my go-to hairdo pretty much every week day – especially when it’s hot! In addition to looking chic and stylish, it’s one of the easiest ways to manage your mane when you don’t have the time (or enthusiasm) to deal with your long locks. What’s best about the donut bun upstyle is that it’s also super trendy right now, and totally glam enough for your wedding day look. Once you’ve got the hang of it, it’s kinda addictive, so be forewarned! 🙂
HOW TO MAKE A SIMPLE DONUT BUN
DONUT BUN KIT ESSENTIALS
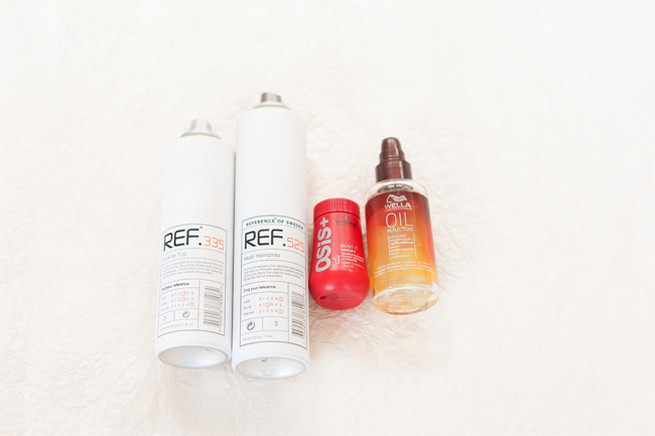
Lisa Brown shares the tools of the trade which she used to create the donut bun upstyle:
Texturizer – Osis Dust It: This is an amazing mattifying powder to help keep an upstyle in place, or to help lift extremely flat hair when doing a blowdry.
Smoothing – Wella Oil: A smoothing oil, that smells amazing by the way, to help smooth away all those little fly-aways and to make hair look incredibly healthy. Here, I used a little before styling and then a little afterwards to make it look fresh, especially with a loose, curly hairstyle.
REF’s Wax Spray: For the upstyle/bun – the hardest part is getting the high ponytail completely flat, with no bumps or fly-aways. To get that “gelled-back” look without using actual gel, I used REF’s wax spray, followed by teasing and back-combing the ponytail, putting in a bun-sponge and creating a soft semi-messy bun.
REF’s Hold Spray: At the end I make sure that everything stays in place by spraying with REFs Hold Spray.
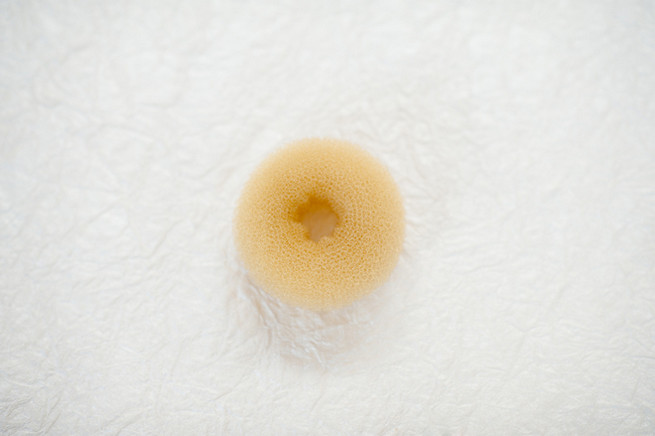
Hair Donut: These come in a variety of sizes – the larger the donut, the larger the resultant bun.
STEP-BY-STEP DONUT BUN TUTORIAL
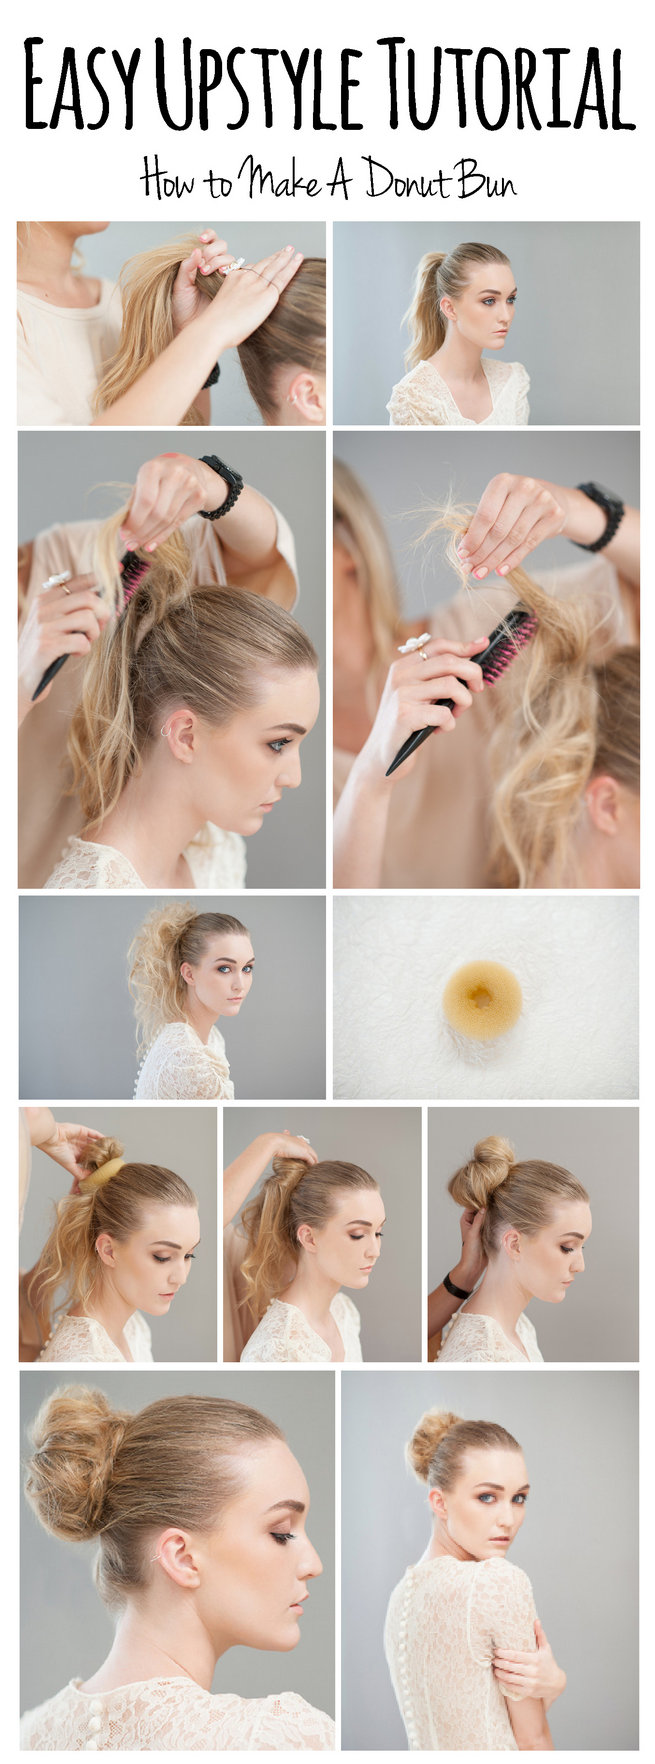
How to Make A Donut Bun:
- Start with a simple pony tail. Once you’ve gotten ride of all of the bumps, you can add a little bit of smoothing oil to keep your hair sleek. Lisa uses Wella Oil first then adds a touch of REFs Wax Spray.
- Texturize and tease. This step is step important. I used to skip it and my bun would never hold. Lisa recommends Osis Dust It for best results. (Ed’s note: If you absolutely can’t get your hands on any Osis, dry shampoo will work as a texturizer in a pinch, too. Just remember that over use of dry shampoo can lead to dry scalp, so it is not an every day alternative. Get the right product.)
- Pull hair through middle of the donut. The donus is now sitting directly over your hair band.
- Wrap around donut. This part is probably the trickiest part to get the hang of when doing it DIY, but once you’ve done it a few times, you’ll understand how easy it is!
- Position your hair so that it is falling all around your head, almost like you’re under a waterfall of hair.
- Use your hand to split the hair right at the back of your head into two parts. (The hair above the nape of your neck. The rest of the hair ‘waterfall’ is still spilling over your ears and face.)
- Grab the hair on the right side of the divide, and position it as if you were going to wrap your hair around the elastic bad that is under the donut. (Leave all the hair on the left side as is, you’ll get there at the end.)
- Wrap your hair around the donut in small sections using a tuck and twist motion. Tuck a small section of hair that is already falling over the donut by simply pulling the hair down to the bottom of the donut, then snuggling that part of hair under the donut with your hand. Even though it feels like a silly thing to do, the tiny velcro like plastic teeth of the donut will keep it there.
- If you have long hair, this means you’ll have a “tail” of hair left over that is not needed to cover that section of the bun. Simply sweep it forward and to the front as you work through each section.
- Once you’ve worked your way around the donut, and it’s completely covered, take the left over “tail” of hair and wrap it under the donut, around the elastic band of the ponytail.
- Here’s a cute video that shows you how.
- Pin down and smooth. Complete the look by spraying with REFs Hold Spray.
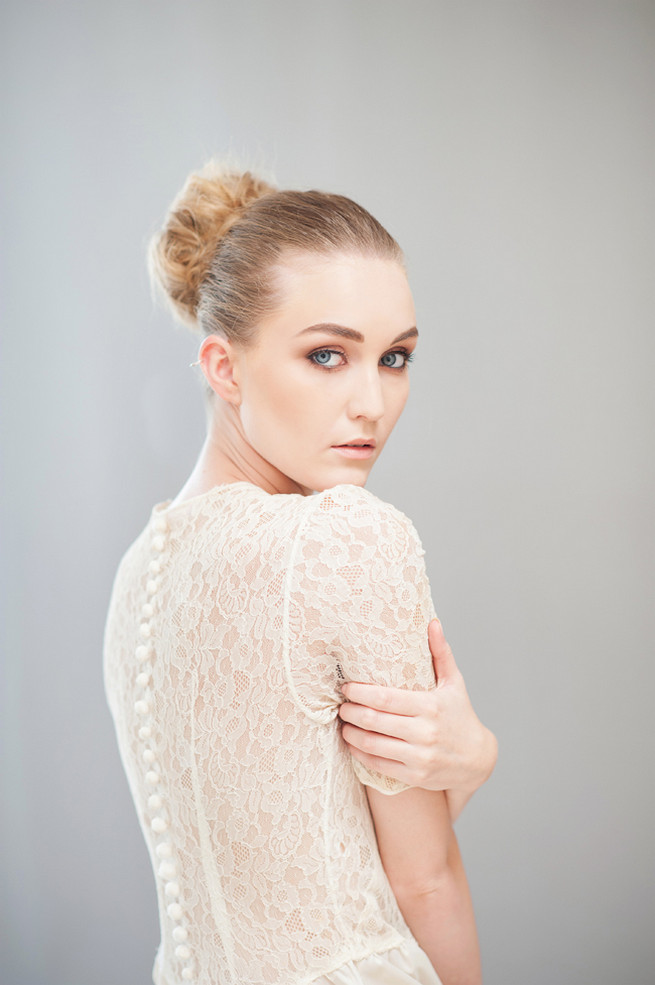
The Finished Look:
A romantic, messy DIY upstyle gorgeous enough for the big day, and easy enough for every day!
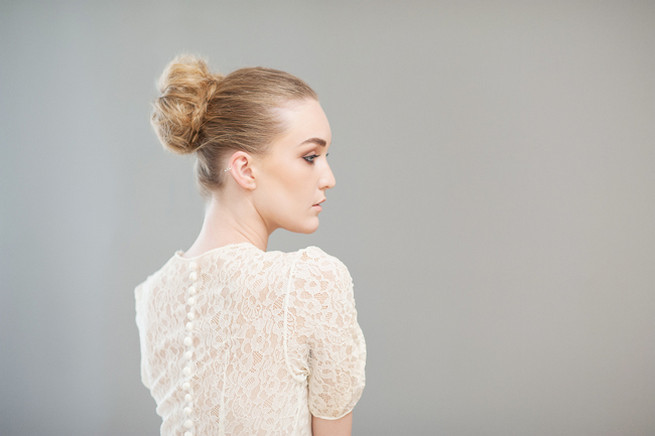
A big thank you to Lisa and Samantha for bringing us another gorgeous beauty tutorial!
♥ ♥ ♥ Service Providers ♥ ♥ ♥
Hair & Make Up Lisa Brown // Photography : Samantha du Toit // Model: Leandri De Kock
See more of Lisa Brown’s artistry here | See more ST Photography’s work here
Gorgeous hairstyles!
Love this!