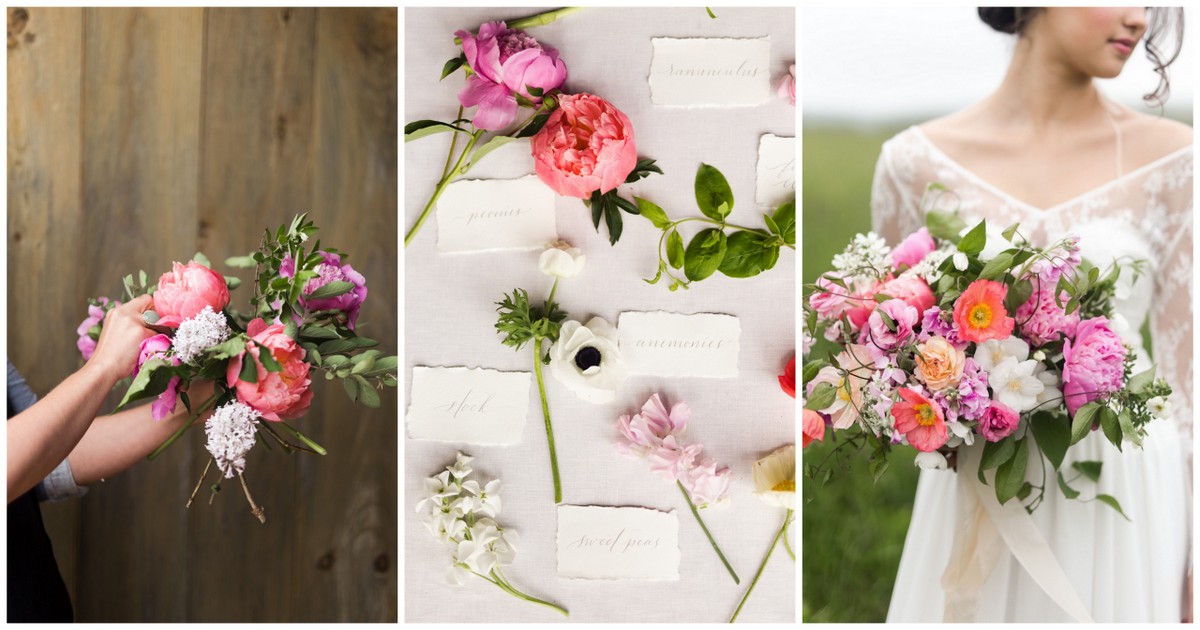
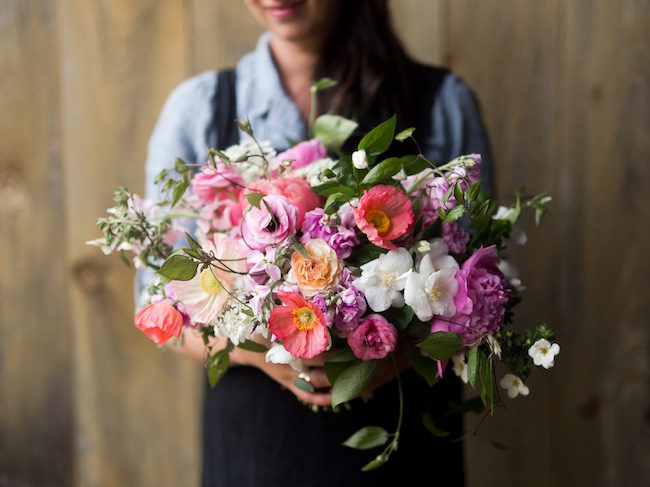
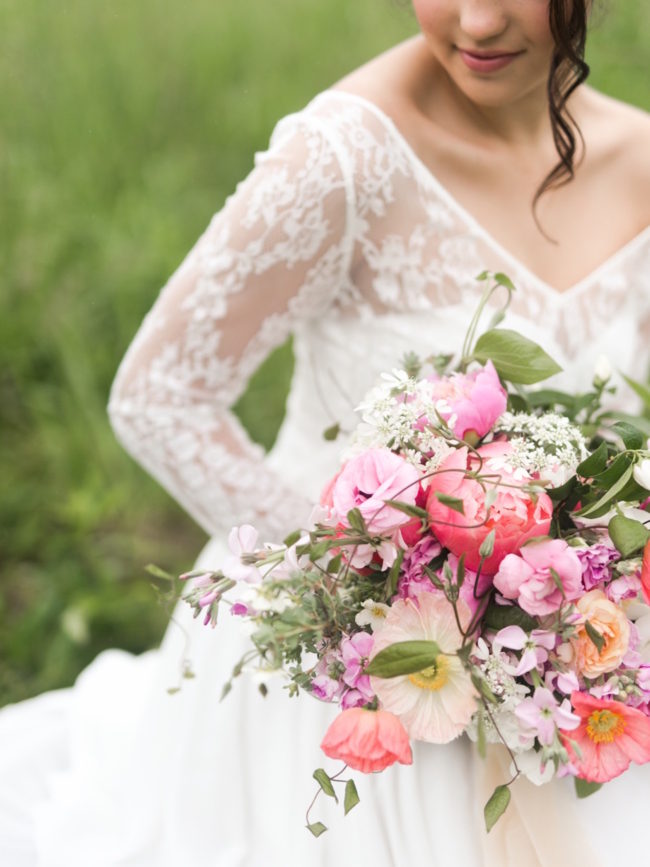
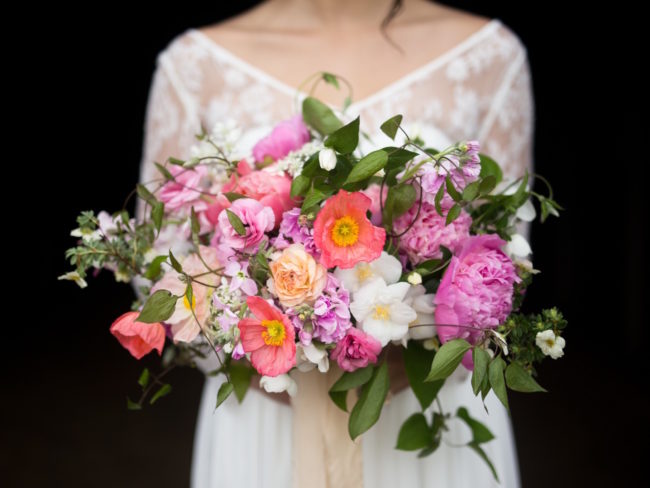
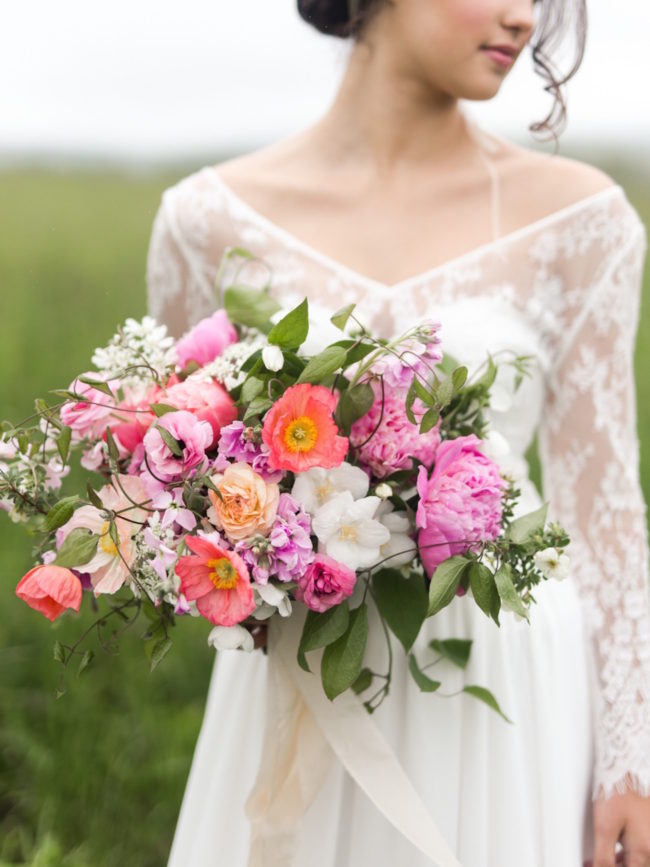
Today Sophie Felts of Blossom & Vine, a boutique floral design studio in Maryland, brings us this romantic hand tied garden bouquet tutorial, complete with flower recipe and step-by-step photographs by JenS Photography! Sophie designed a whimsical creation filled with peonies, ranunculus, clematis and poppies which you might recognize from this editorial filled with ideas for the thoughtful, environmentally friendly bride.
Sophie teamed up with Maryland based boutique styling and event planning company Ivy and Honor to create a bouquet that embodies understated elegance. “We love supporting local farms and businesses both in our personal and professional lives,” shares Ivy and Honor . “We particularly love local and foraged flowers because it can tie in so naturally with a romantic, eco friendly wedding day.”
Sophie believes in using locally grown and foraged elements where ever possible in her lush, loose and whimsical designs – an eco-friendly principle which we adore! Her organic arrangements made her the perfect person to share some really helpful information with brides looking to DIY a bouquet featuring locally-sourced and foraged flowers.
How to Create a Hand Tied Garden Bouquet
Hand Tied Garden Bouquet Flower Recipe:
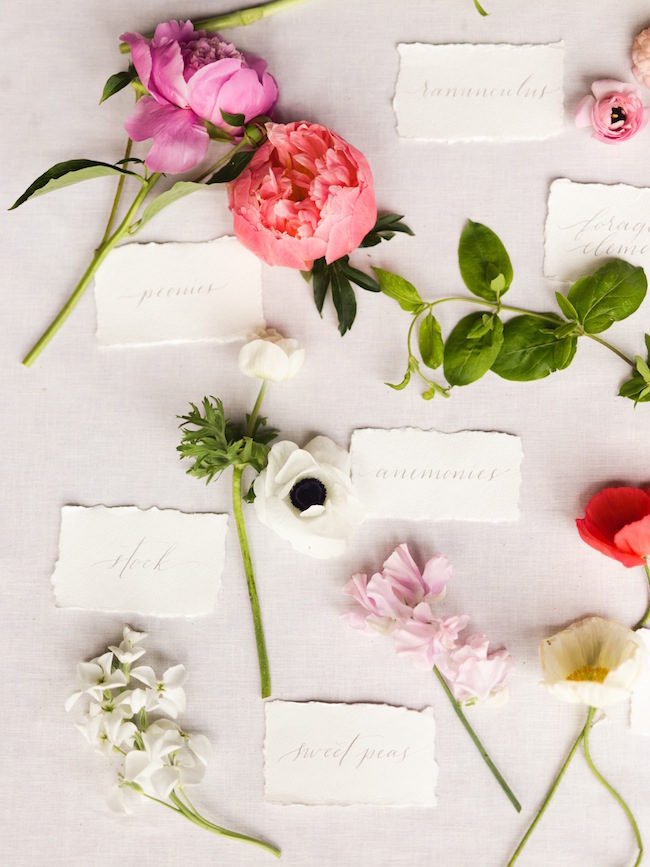
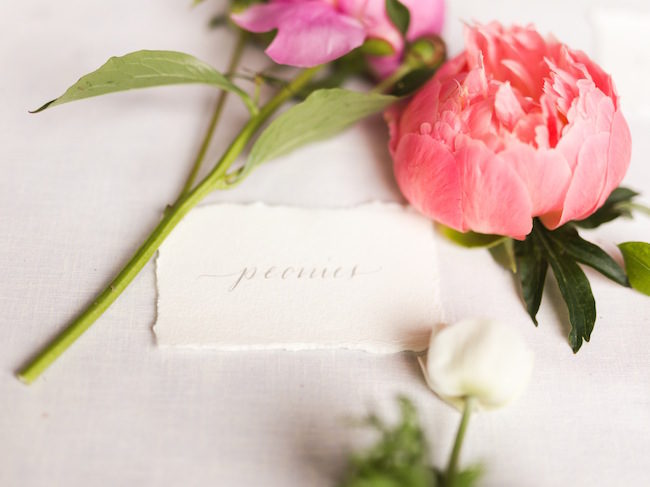
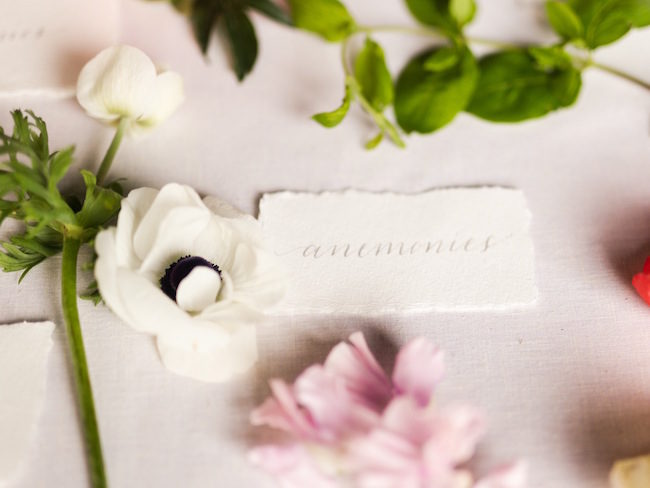
To achieve the hand-picked, romantic look of this hand tied garden bouquet tutorial, simply use a variety of the flowers listed below. It’s your very own garden bouquet flower recipe with labelled photographs to help you identify each of the blooms, courtesy of Blossom & Vine , Allison Dee Calligraphy, Ivy and Honor and JenS Photography!
Hand-Tied Garden Bouquet Flower Names:
- Peonies
- Mock Orange
- Lilac
- Icelandic Poppies
- Ranunculus
- Stock
- Clematis Vine
- Foraged greenery
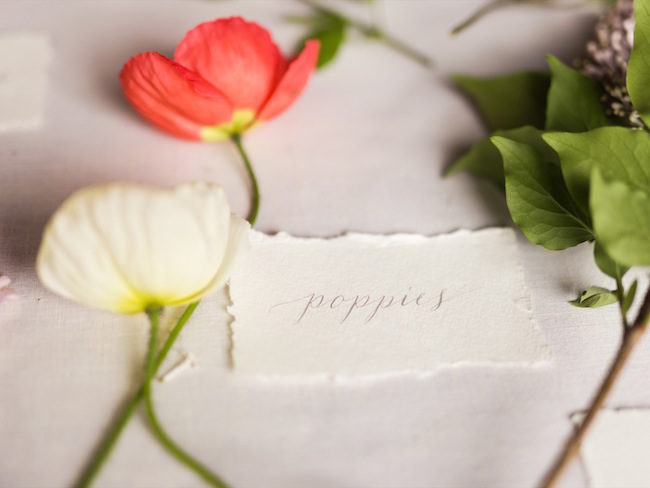
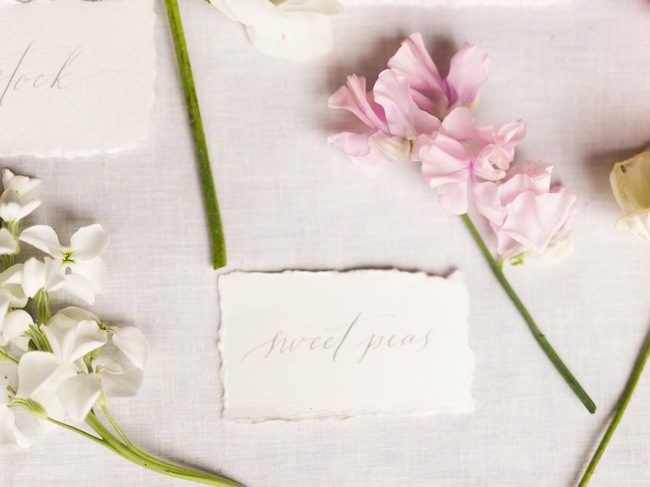
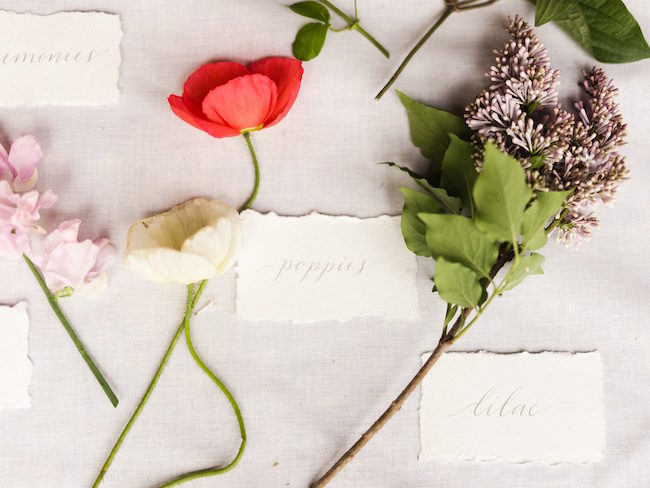
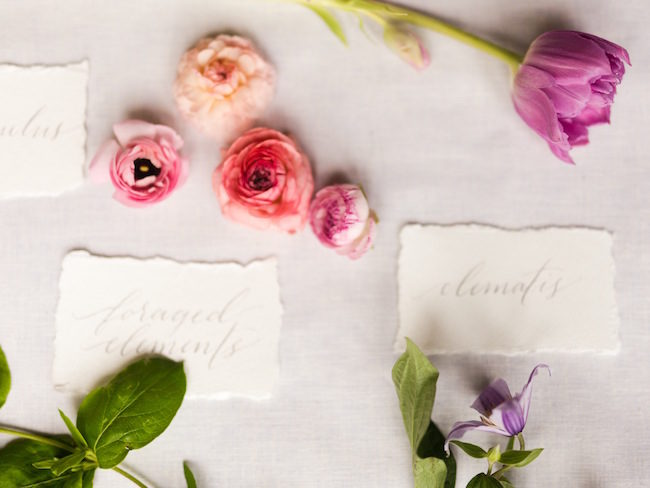
Hand Tied Garden Bouquet Tutorial
Step 1. Gather and organize the flowers and foliage that you will use. Prepare the flowers by pulling the leaves off the flower stems and have everything laid out so that each stem is easy to grab.
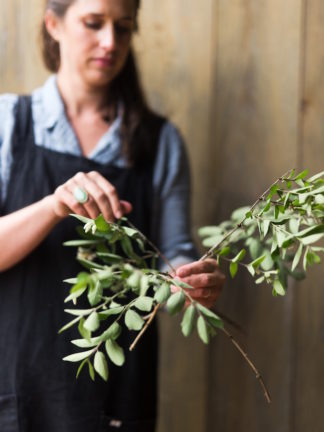
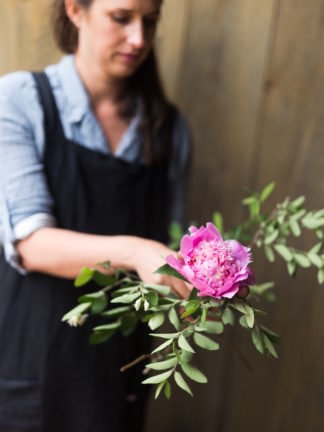
Step 2. In one hand gather 3-5 stems of foliage. This will act as your base ‘frame’, to start the hand tied garden bouquet tutorial.
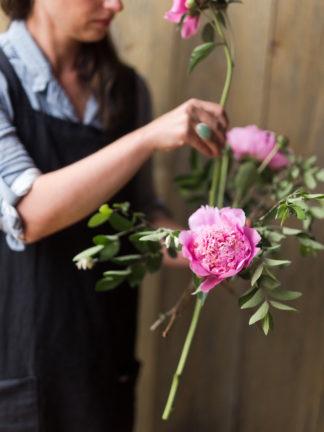
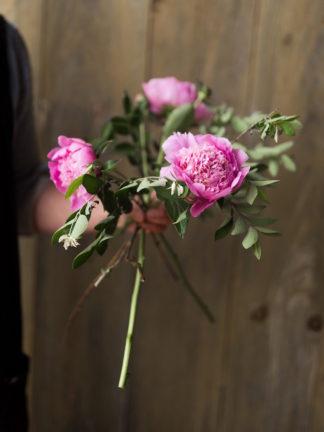
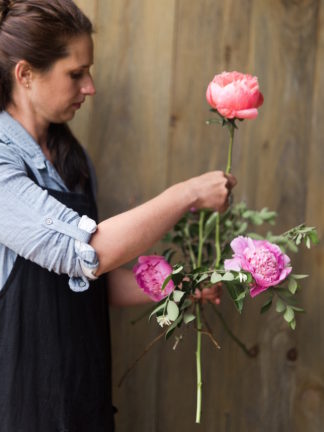
Step 3. Thread in 3-5 stems of the heavier feature flowers. Here we used peonies. Stand in front of a mirror to keep an eye on composition from each angle, making sure the bouquet looks balanced.
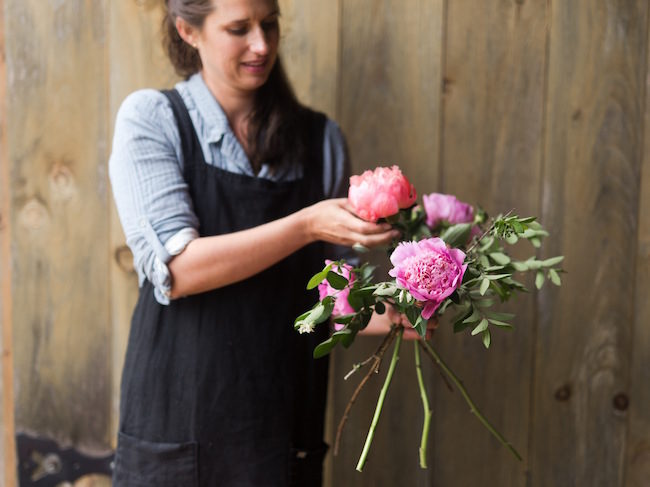
Keep your grip loose and your stems trimmed short as you go. Things will move around in your hand at this stage which is ok!
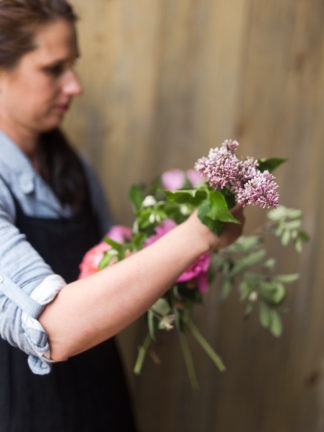
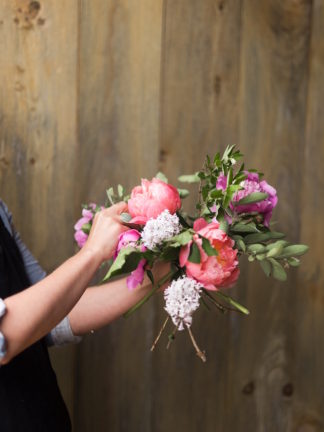
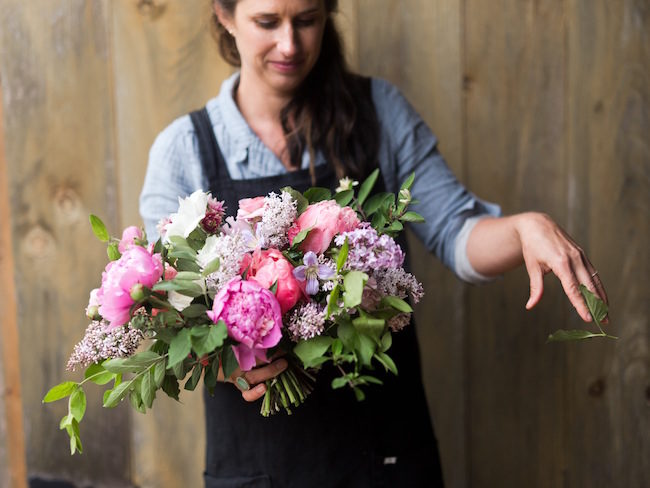
Step 4. Continue to add in different floral elements, 3-5 stems at a time.
Thread stems through the center of bouquet creating a structure that will get sturdier with each addition.Click To Tweet Try to vary the texture of the flowers as you go.Click To Tweet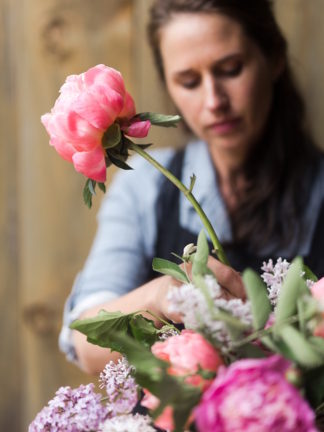
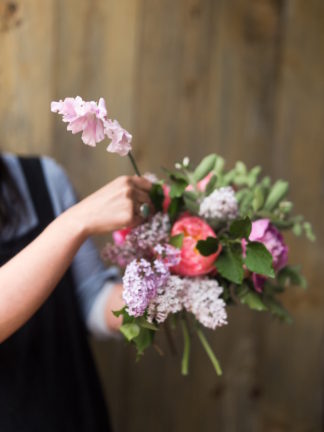
The shape of the lilac is a nice contrast to the roundness of the peonies used in this hand tied garden bouquet tutorial.
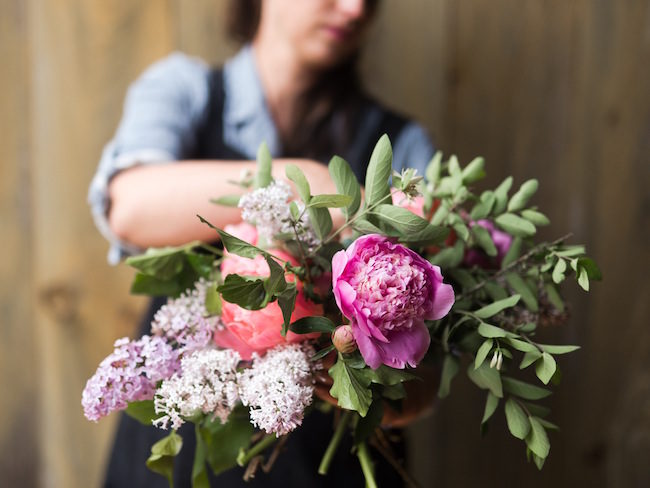
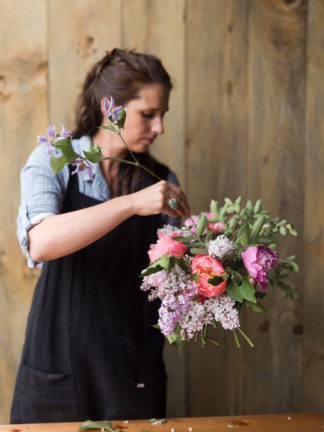
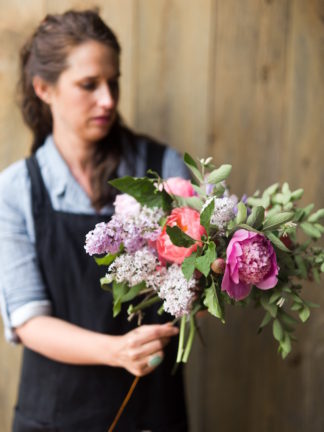
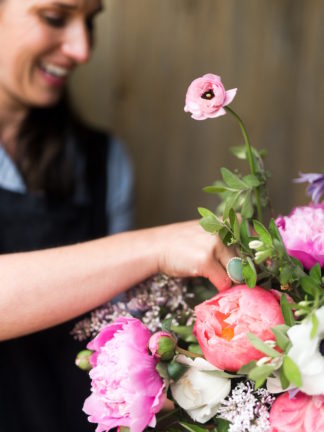
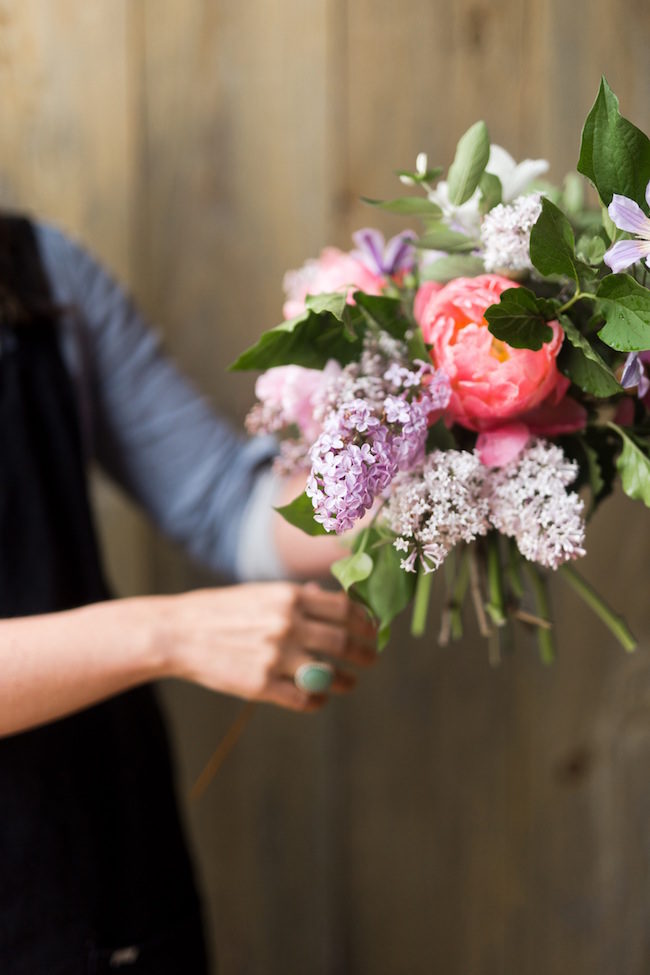
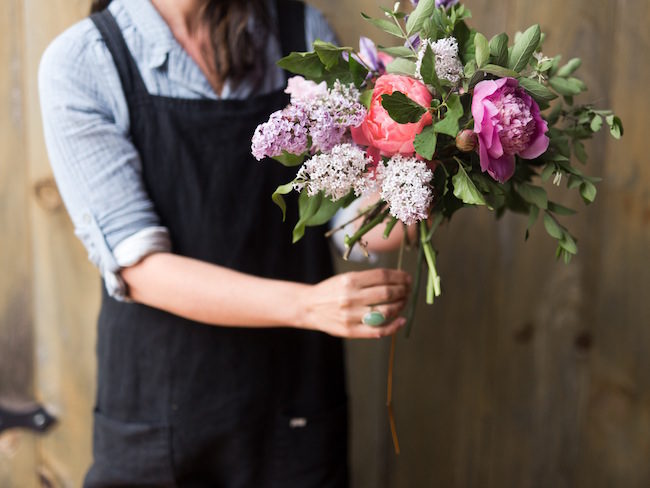
Step 5. Finish with something light, airy and whimsical. I loved using the clematis vine to add the final touch to this hand tied garden bouquet tutorial.
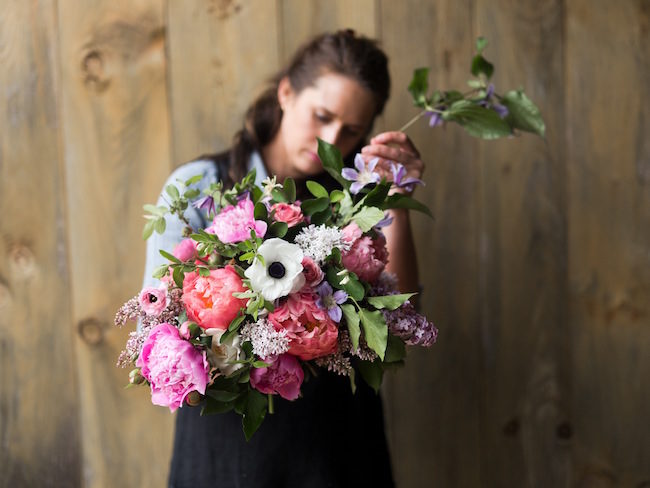
Step 6. Remember to keep your grip loose. Occasionally I shake the bouquet gently and try to spread the flowers, keeping a loose and organic feel.
When you are finished adding flowers and you like the look of your bouquet, snip all of the stems short and even. Click To Tweet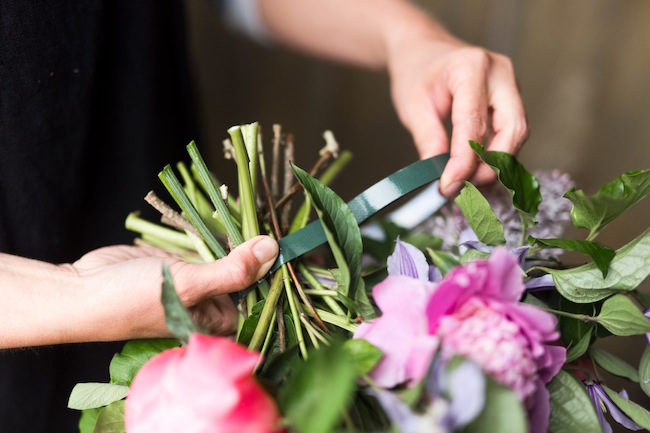
Step 7. This is a good time to enlist the help of a friend.
Hold the bouquet upside down. Carefully and snugly, wrap the stems with waterproof floral tape. Make sure to tape at the same place where you imagine the bouquet will be held.Click To TweetStep 8. After wrapping a few times around, finish off by wrapping the tape backwards around the bouquet, sticky side up. This will keep the ribbon to in place.
Step 9. Cut the tape and snip yourself a pretty short piece of ribbon. Wrap it smoothly around the bouquet. The sticky-side-up tape will help keep the ribbon smooth and in place while you wrap. Pin the end of the ribbon using corsage pins.
Wedding Service Providers + Creative Team Contacts:
- Florals Blossom & Vine
- Photographer: JenS Photography
- Calligraphy Allison Dee Calligraphy
- Planner Ivy and Honor
- Bridal Attire: Lace & Liberty
- Model Marley Chertok
- HMUA Lori Nansi
See more DIY tutorials // See real weddings
Ideas for the Romantic, Thoughtful, Environmentally-Friendly Bride {JenS Photography}

