Make Your Own Paper Ranunculus Flowers
 Whether fresh from Mother Nature or freshly made by you and your bridesmaids, flowers are nearly every girl’s accessory on her Big day.
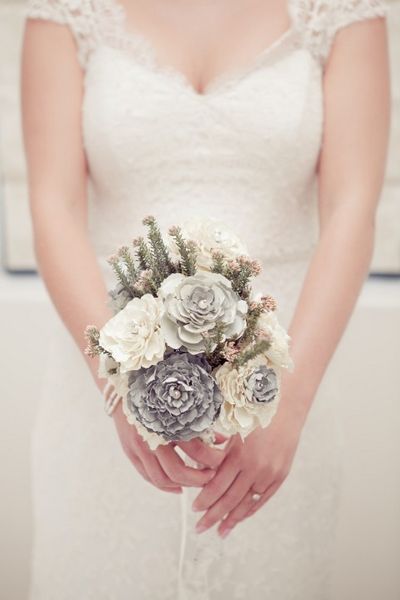
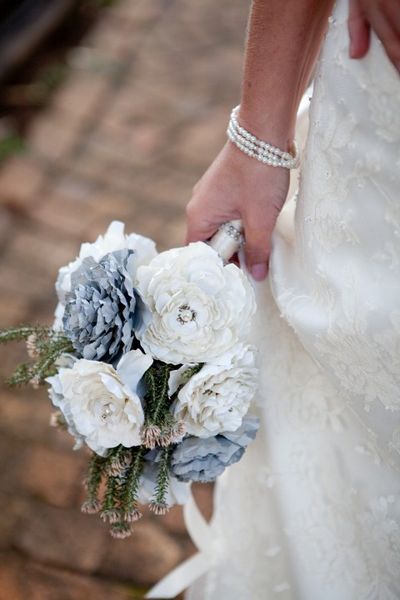
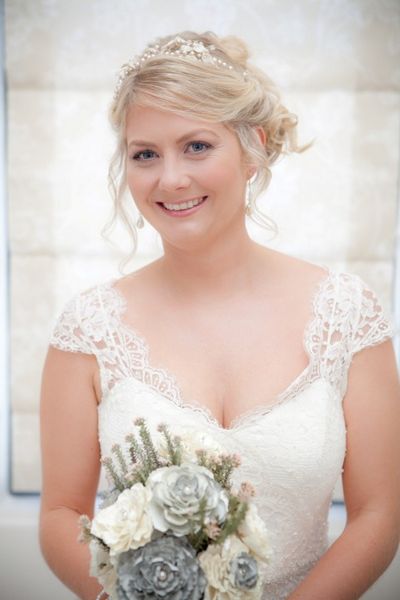
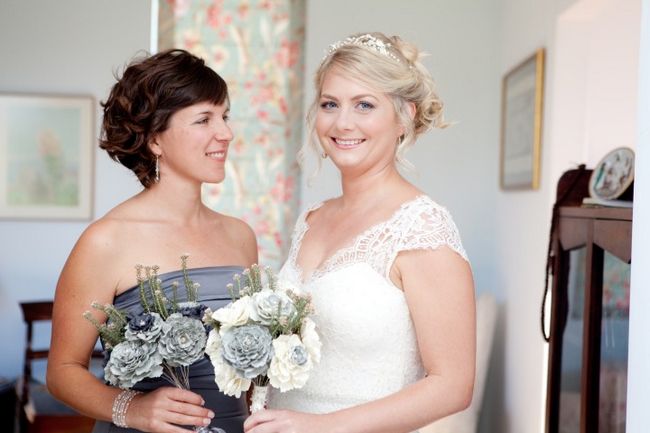
Inspired by the beauty of having a handmade bridal bouquet keepsake, our Real Bride, Lucy Cobern, previously featured in our {Real Bride} A Handmade Vintage Romance Wedding Theme post, created a beautiful bouquet of paper flowers for her wedding day.
♥ ♥ ♥
Follow Lucy’s easy step-by-step instructions below to learn how to create your very own paper Ranunculus flowers to add a vintage-inspired punch to your bridal look!
All photographs are credited to the wonderful, Jilda G
You will need:
- Pair of scissors
- Hot glue gun or normal cold glue
- Flower petal template (Draw your own or adapt it from a template found online)
- Pencil
- Paper that can be printed on
- Piece of foam or something similar
- Brads
- Rounded tool such as a wooden spoon or the end of a cosmetic brush
1. First, decide on the color you want your flowers to be – For her wedding, Lucy chose dark grey, light grey and ivory paper. She advises that you use A4-sized sheets of firm paper that will hold its shape (not too cardboard-like and not too flimsy). Lucy managed to make one flower from one A4-sized sheet of paper.
2. Draw your flower petal template – Lucy explains that you need to draw 14 flower petals on one sheet of paper, with 2 petals of each size. This should leave you with 7 different sized petals that is each a bit bigger than the previous one. Although you can adapt the shape of your petal from a template that can be found online, such as this template via OMG DIY Wedding, she advises that you make sure that your petal leaves are delicate in shape and not too big in size. Her flowers had 5 petals, which was “a nice odd number to vary the arrangement”. She says that if you’d like bigger or smaller flowers, then you should draw your petals according to the size that you’d like. Adding more petals to your flower will ensure that you have a lovely full and luscious flower.
3. Copy your flower petal template onto your A4-sized sheets of paper – Once she had created her flower petal template, Lucy photocopied it onto the A4-sized sheets of color paper.
4. Cut your flower petals out – As an art teacher, lucky Lucy managed to cut two pages at a time, with the help of her art students!
5. Curl your flower petals – Once all the petals are cut out, they need to be curled. To do this, Lucy used a piece of foam and the back of a wooden spoon. Pressing quite hard, she explains that you need to “run the end of the spoon hard around the edges of the petals and they will curl up. The harder you press, without breaking the paper, the more they will curl up.”


6. Once your flower petals are curled, place a hole in the centre of each – Lucy tells us that you need to pierce a hole in the centre of each flower petal so that you can attached it all together.
7. Attach your flower petals – Place your flower petals in piles of their sizes, two of each size per flower. To attach the petals together, you can use beads or brads, which is a small wire nail with a small and curved head.
8. Glue your flower petals together – Once you have placed the bead and the brad together, you need to glue (Bostik glue works well) your petals. Starting with the smallest set of petals, apply glue to the back of the petals around the hole once the petal is in place. As it is easy enough to move the petals around while the glue is still drying, Lucy advises that you ensure that the different flower petals overlap one another as the petals get bigger, so that there is a gap underneath each petal. “Work your way up from the smallest size to the largest size petals.”, says Lucy.
9. Attach your completed flowers to wires – Once all your flowers are made, attach them to long wires so they could be gathered into a bouquet. Lucy’s bridesmaid took a mountain hike to gather a few South African Blombos and arranged the bouquets for her two days before the wedding.
10. Lastly, wrap your flower stems – Lucy wrapped the stems of her flowers using ribbon and some lace. She threaded some beads on a piece of fishing gut and wrapped it around the bouquet handle to complete the bouquet. Yay!

To learn how Lucy created her paper corsages and boutonnieres, take a look at our DIY Paper Origami Lily Vintage Wedding Corsages & Boutonnières. If you’d prefer to create fabric flowers for your bouquet, then skip over to our {Bridal DIY} Tulle & Chiffon Fabric Flower Tutorial to find out how.
♥ ♥ ♥