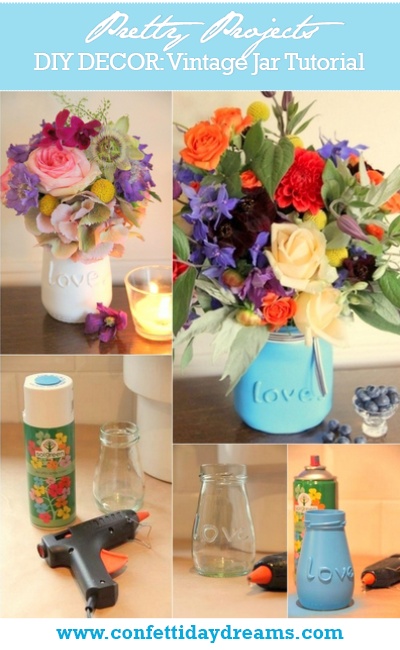
Vintage Love Jars
DIY Tutorial
♥ ♥ ♥
In love with DIY projects? Well, if you’re one of those brides that are keen to create your own wedding decor, today we’re sharing a pretty DIY Vintage-style jar tutorial that is an easy-peasy and affordable way of creating a unique vintage-inspired wedding décor centrepiece.
Shared by the flower power ladies, Frida and Sophia from Frida and Sophia Floral Design, in the UK, whom we featured in our FREE Wedding Magazine & Bridal Guide – The Vintage Edition, follow the simple step-by-step tutorial below to learn how to create your own personal wedding centrepieces.
DIY Vintage Style Jar Tutorial Tips
Step 1: Gather your tools
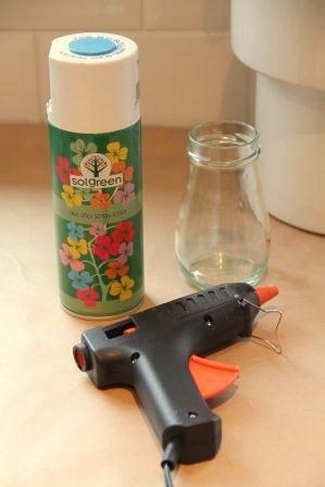
You will need the following tools:
♥ Heated glue gun
♥ Clean glass jar
♥ Paint primer (optional – to prevent the spray paint from flaking)
♥ Matt spray paint in a colour of your choice
Ribbon, lace or any material can be strung around the neck of the jar to dress it up.
Step 2: Glue your special word
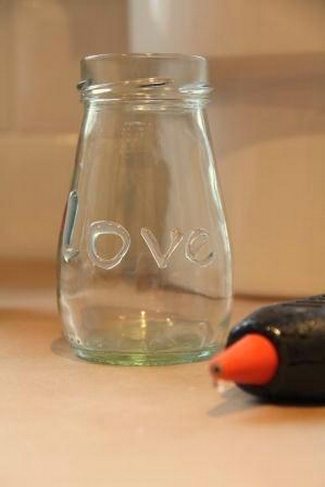
Once the jar is clean and dry, using a steady hand, use the glue gun to carefully spell out a personal message, word, the couple’s initials or even a meaningful symbol.
Step 3: Spray your Jar
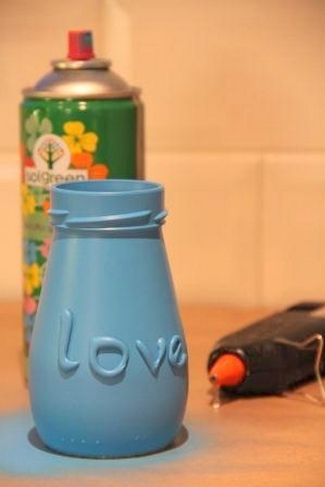
Once the glue has dried, spray the entire jar evenly with the spray paint in a colour of your choice that will complement or contrast with the flowers.
Step 4: Adorn your Jar
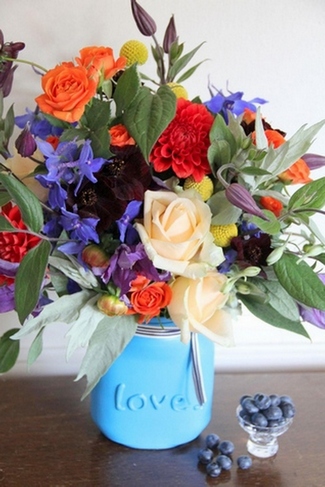
Once the spray paint has dried, adorn your jar with ribbon or lace to hide the lid thread and add another texture to your design.
Fill your jar with flowers and use as a striking centrepiece.
These DIY Vintage Love Jars look amazing in different colours and will be sure to add a Vintage feel to the rest of your wedding table décor.