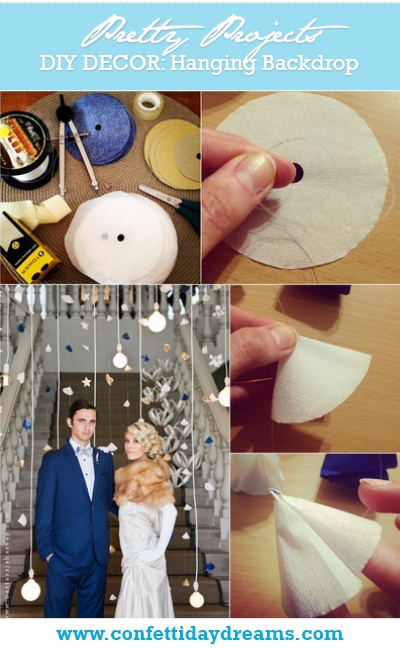
Hanging Backdrop
DIY Decor
♥ ♥ ♥
Introducing paper – A magical tool that can be transformed into nearly any shape or form that one can think of. When it comes to paper, the sky is the limit! So, the next time you have an empty wall or dead space to fill with something gorgeous, why not think of paper?
Following our great set of 21 DIY Outdoor & Hanging Decor Ideas, today we’re sharing event planning company, Blank Canvas Event Design’s easy peasy DIY paper mobiles created for a Great Gatsby themed shoot captured by Nastassja Harvey Photography. Try creating this modern macrame, which will make the perfect ethereal backdrop at your wedding.
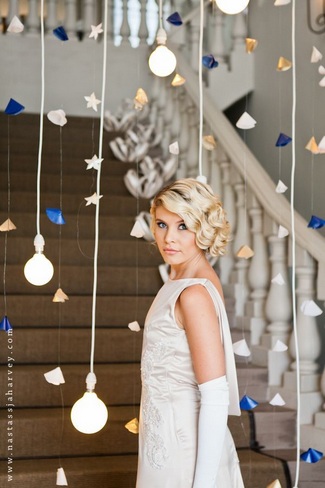
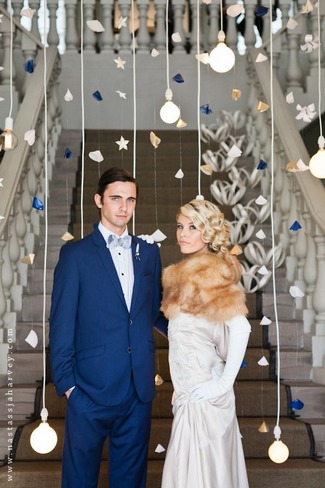

Step 1: Gather your Tools
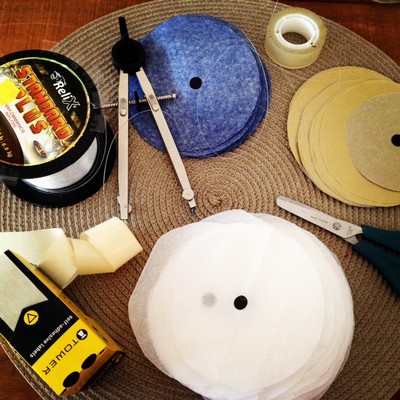
What you will need
- Enough fishline for your project
- Compass
- Scissors
- Small round stickers
- Double-sided cellotape (the thin, clear kind) or glue dots
- Tissue paper or crepe paper in your choice of colours
Step 2: Create your Paper Circles
- Choose the size of your paper circles by setting the compass to the correct size and drawing the circles on your paper and cutting them out
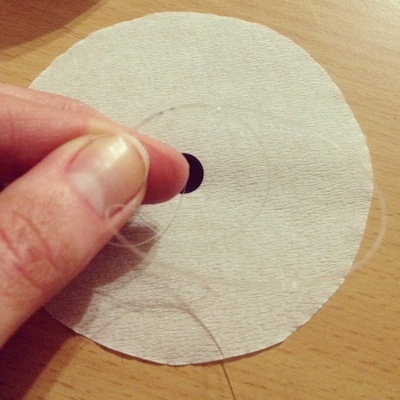
- Place a sticker in the centre of each paper circle (this is to prevent the paper from tearing away from your fishline and to help keep you mobiles intact).
- Using the sharp end of your compass, press a little hole through the centre of each sticker and paper circle.
- Cut a long enough piece of fishline to hang the entire length of the space you need to fill.
- Make a knot at the top to indicate your starting point and to prevent your paper shapes from falling off.
- Choose a spot on the piece of line for your first mobile.
Step 3: Fold your Paper Circles
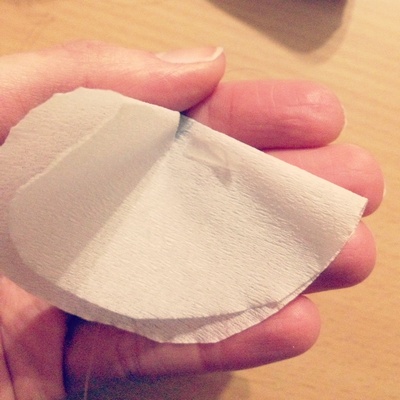
- Thread the fishline through one of your paper circles and slide it in place at the top of your line (the sticker should be on the bottom side of the circle so that it doesn’t show once you have folded it into shape).
- Tie a knot in the fishline right against your paper circle to keep it in place.
- Fold the paper circle in half against the knot in your line.
Step 4: Tape your Paper Circles
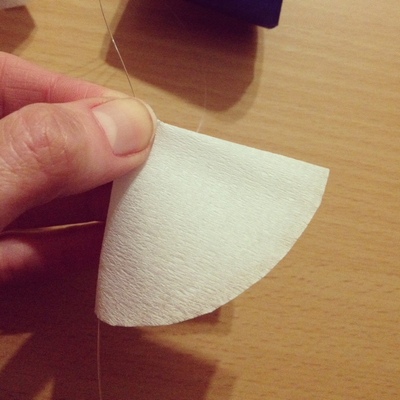
- Stick a small piece of double sided tape on the one side of your paper crescent (towards the top of the straight side).
- Fold the crescent in half again and stick the two sides together with the tape.
Step 5: Puff your Paper Circles into Shape
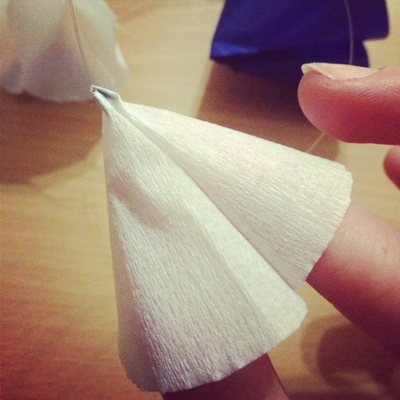
- Place your fingers into the shape to open it up a little.
Step 6: String your Paper Shapes Together
- Repeat steps 1-13 until you have enough paper shapes on your piece of string. You can determine the distance you want them from each other. The closer they are together, the ‘fuller’ they will look.
- Once you have strung the last shape onto your line, just trim off any line that is still sticking out from underneath your shape.
- Hang all your lines together to create a curtain.
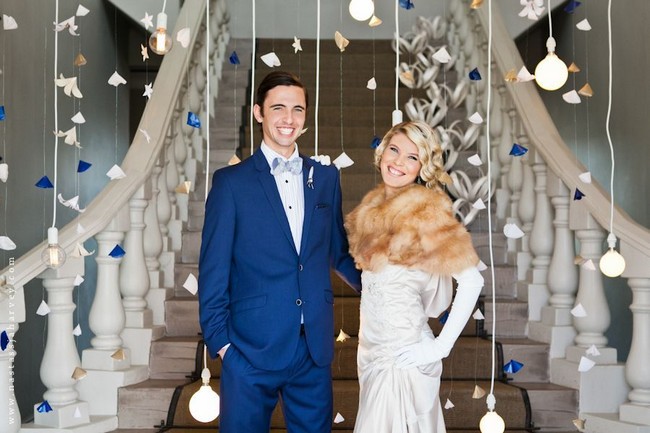
Once you’ve strung several lines of your paper shapes you can suspend your paper mobile collection as a striking backdrop for the entrance to your wedding reception or as a pretty backdrop for your wedding photos, main reception or dessert table.
Craving more DIY decor projects? This way to DIY Decor: Vintage Style Jars, a step-by-step Vintage Love Jar DIY Tutorial.
Vendors
Photography: Nastassja Harvey Photography | Concept, Styling & Co-ordination: Blank Canvas Event Design | Venue: Nantes Estate | Hanging Paper Mobiles: Ci Tutto Bella Designs & Blank Canvas Event Design | Paper Flowers: The Fairy Factory | Naked Bulbs: Something Different | Bridal Gown: Molteno Creations Bespoke Couture | Headpiece & Jewellery: Bella Chiara | Hair & Make-Up: Sanmarie Botha | Mens Formal Wear & Boutonniere: Rozanne Lazarus, Moi Styling | Cakes: Edible Art Cakes